
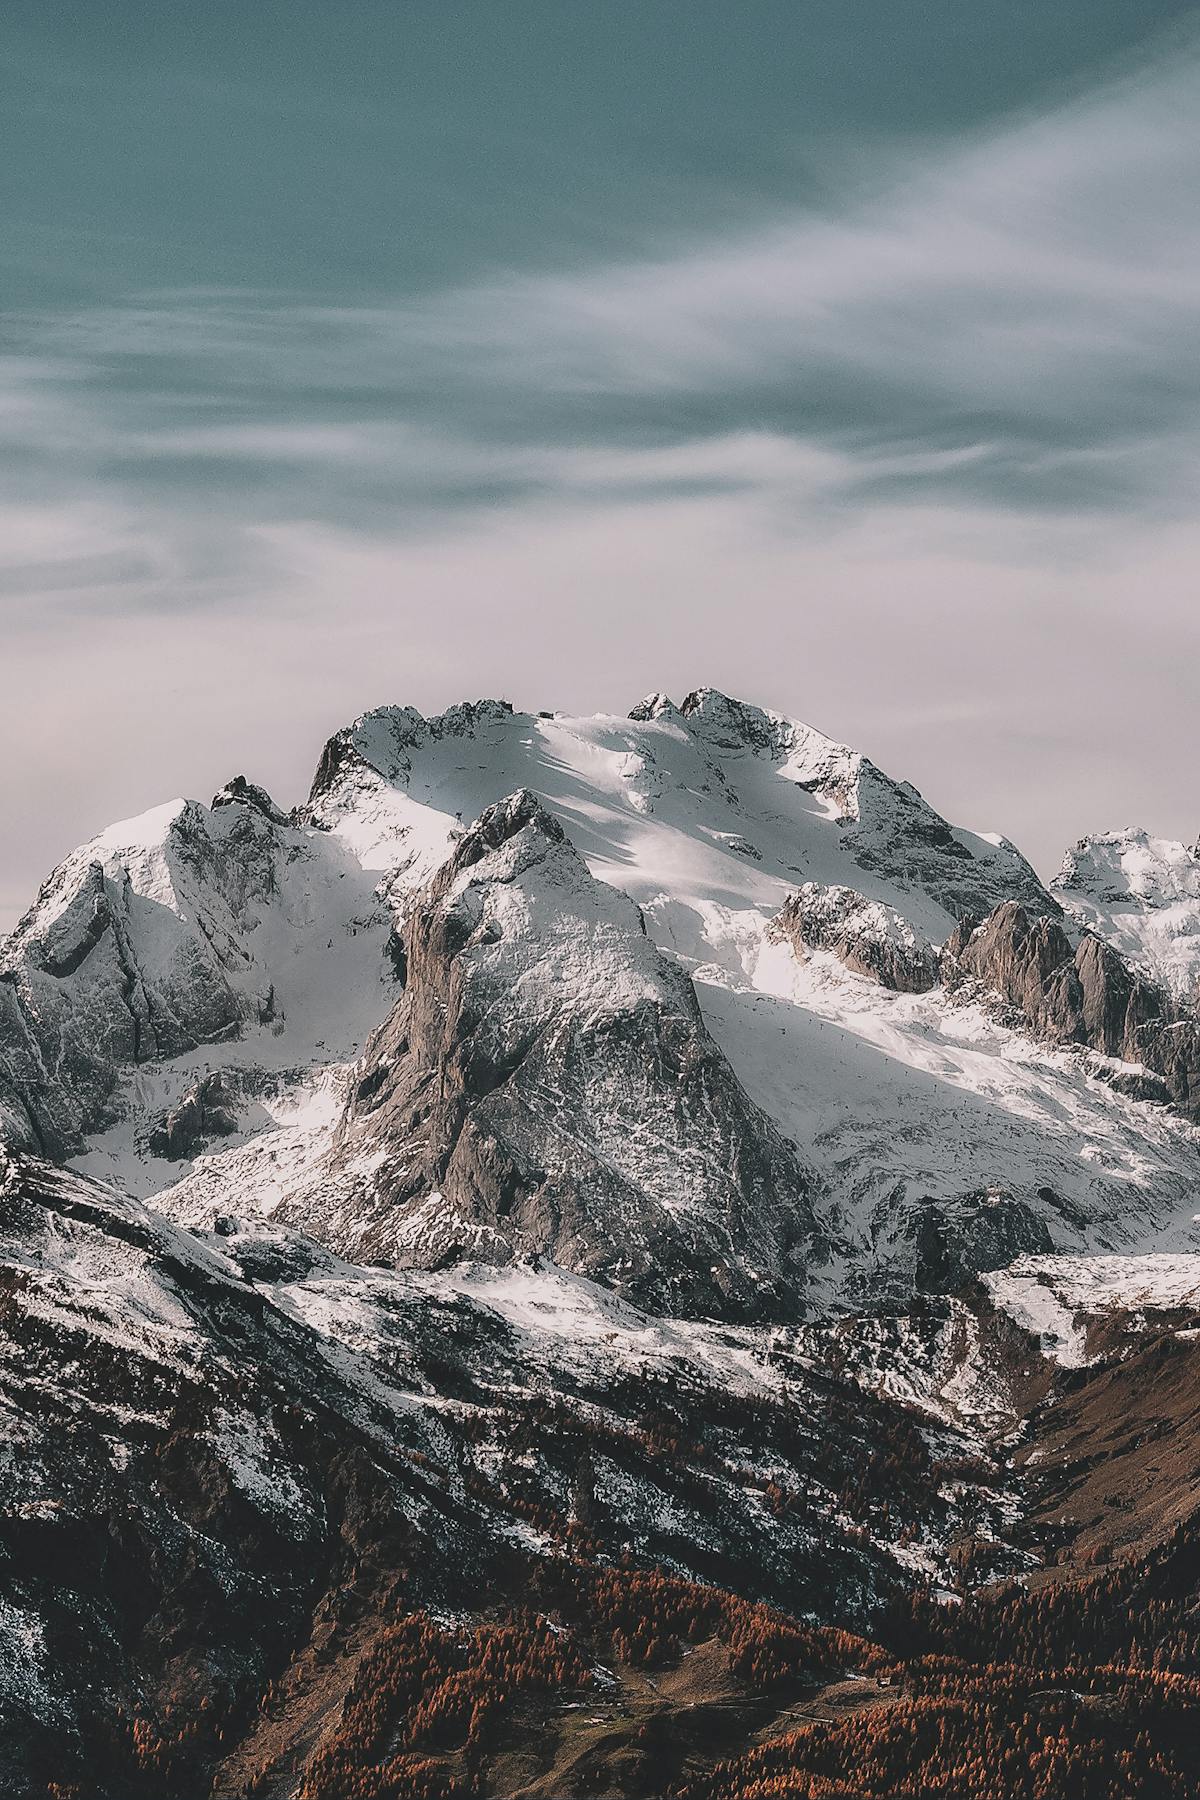
In summary
- For landscape photography, sensor dynamic range matters more than megapixels: a used full-frame body under €700 outperforms any new entry-level APS-C.
- A tripod is not optional: without it, you lose long exposures at dawn, focus stacking, and HDR bracketing.
- A 16-35mm equivalent wide-angle lens covers 70% of landscape shots; the rest is handled by a 70-200mm for details and compression.
- Polarizing and graduated ND filters remain indispensable even in the era of bracketing: post-processing works better if the exposure starts out clean.
When a customer walks into the shop asking me 'what do I need for landscape photography?', the first thing I do is ask where they shoot and how much they hike. Because the ideal gear for someone climbing to a hut at 2,500 meters is different from that of someone stepping out of a car at a viewpoint, and the total weight of the backpack is often the first real operational limit.
In this article, I combine ten years of counter advice with several personal trips to the Sibillini Mountains and Monte Conero. No generic shopping lists: we discuss what you truly need, what can wait, and what is just marketing. All models mentioned are certified used items that we currently have (or have had) in our catalog, with real 2026 market prices.
The camera body: what to really look for
In landscape photography, you never use burst mode, you don't chase moving subjects, and you rarely go above ISO 400. The sensor does 90% of the work when you recover three stops of shadows from a high-contrast sunrise. Everything else — eye-detect autofocus, 20 fps, 4K 60p video — is marketing you don't need.
That is why, for landscape photography, a six-year-old used full-frame camera almost always outperforms a new APS-C mirrorless camera at the same price.
Dynamic range: the true key parameter
Dynamic range is the difference between the darkest recoverable pixel and the brightest non-clipped pixel, measured in stops. For a sunrise where you expose for the highlights and lift the shadowed foreground, every stop counts.
The Sony Exmor sensors mounted on the Sony A7 Mark II (available from 550 euros in our catalog) deliver approximately 13.6 stops of dynamic range at base ISO. A modern entry-level APS-C camera stays below 12 stops. This nearly two-stop difference allows for the recovery of deep shadows without the banding noise typical of smaller sensors.
Megapixels don't matter. A 24 MP file with 13 stops of dynamic range remains more malleable than a 32 MP file with 11 stops.
Full frame or APS-C: when the upgrade makes sense
APS-C is sufficient if you mainly shoot in full light, print up to 30x45, and do not publish commercially. A Sony A6100 at 600 euros does its job perfectly well in high mountains at noon or on uniform days.
Switching to a full-frame sensor is justified in three cases:
- You often shoot at dusk: the extra dynamic range saves your files
- You print large: beyond 50x70, the difference is visible
- You want to use true wide angles: a 16mm on full frame stays 16mm, on APS-C it becomes a 24mm equivalent
The Canon EOS RP at 600 euros is the most affordable full-frame camera that makes sense today: 26 MP, modern sensor, RF mount for new lenses. Same price as the A6100, but with a larger sensor.
If you have never owned a mirrorless camera, read our guide to choosing your first used mirrorless first: there are pitfalls you can avoid by knowing what to look for.
Resolution: 24 megapixels are already plenty
50x70cm prints at 300 dpi require approximately 21 MP. The 24 MP of the A7 II or the 26 MP of the EOS RP cover 95% of real-world uses, including church crosses.
Beyond 40 MP, you enter specialist territory: 80 MB files, excellent lenses are mandatory, a tripod is always required, and micro-shake becomes visible at shutter speeds you previously ignored. For the vast majority of landscape photographers, this is a counterproductive upgrade.
Lenses: The Wide-Angle Is the Real Star
If you have to choose just one lens for landscape photography, get a wide-angle zoom. Not a fast prime, not a 24-200mm do-it-all: a wide-angle zoom that starts at around 16mm equivalent and reaches up to about 35mm. For fifteen years, I have seen customers come in convinced they need a 50mm f/1.4 to "start right," only to come back six months later to sell it because 95% of their shutter count on the tripod was taken at 18mm stopped down to f/8.
The wide-angle: 16-35mm or equivalent
The 16-35mm full frame range (or 10-22mm on APS-C, 8-18mm on Micro 4/3) alone covers most situations: wide landscapes, emphasized close-ups, and interiors of huts and churches. The focal length you will use most is around 20-24mm equivalent, not the extreme 16mm.
A 14mm prime, or a zoom starting at 12mm, is a specialist focal length. Lines deform, horizons curve if you are not perfectly level, and you must learn to keep nothing important at the edges. It is frustrating to start with: you end up with empty photos where the subject is a distant dot. It is better to start at 16-18mm and go wider only when you feel you need more field of view.
The standard 24-70mm zoom
In a pure landscape kit, the lens is the most expendable component. If you already have the 16-35mm and a telephoto, the 24-70mm overlaps with the former at the long end and with the latter at the wide end. It becomes useful if you travel light and want a single versatile zoom for walking, or if you also shoot environmental portraits set within the landscape. For outings dedicated to pure landscape photography, it often stays in the backpack all day.
The 70-200mm telephoto: details and compression
The telephoto lens changes the composition, not just the framing. Perspective compression brings the planes closer: mountain ridges appear stacked one on top of another, the moon looks enormous behind a bell tower, and layers of fog stratify in a graphic way. A 70-200mm f/4 is perfect for this use: it weighs half as much as an f/2.8, costs less than half, and at f/8-f/11 from a tripod, the brightness is not needed.
f/4 vs f/2.8 aperture: brightness is not needed for landscape
The working aperture in landscape photography is almost always between f/8 and f/11, the best compromise between sharpness and depth of field before diffraction starts to degrade the file. A 2.8 costs you an extra 800-1200 euros, adds 400-600 grams to your shoulders, and then you stop it down by three stops. The practical differences between f/4 and f/2.8 at full aperture for landscape:
- Weight: a 70-200 f/4 weighs under a kilo, while an f/2.8 exceeds 1.4 kg.
- Used price: an f/4 can be found for 400-700 euros, while an f/2.8 is rarely under 1,000.
- Performance at f/8: practically identical, sometimes the f/4 is even sharper at the edges.
- Filters: f/4 lenses often have a 67-72mm diameter, while f/2.8 lenses go up to 77-82mm, and filters cost twice as much.
The 2.8 makes sense if you also shoot indoor reportage, weddings, or sports. If you only do landscape, it's wasted money.
The tripod: the most underrated investment
A solid tripod will yield more portfolio pieces than an upgrade from APS-C to full frame. I say this because I see it every week at the counter: a customer arrives with a €2,000 mirrorless camera mounted on a €49 tripod bought online, complaining that something is off with long exposures. It is indeed off: the head vibrates, the center column flexes, and the north wind shifts everything by half a degree.
A tripod serves three purposes that are non-negotiable in landscape photography: long exposures at dawn and dusk, focus stacking to achieve sharpness from 50 cm to infinity, and bracketing for HDR without misalignment. Without one, you start at a disadvantage.
Carbon or aluminum: how much does the difference weigh
A decent aluminum tripod weighs around 1.8–2.2 kg. The same model in carbon fiber drops to 1.2–1.4 kg. We're talking about a 700–900 gram difference, which you'll definitely feel on a six-hour mountain outing.
In terms of price, carbon costs 50-70% more within the same range. This step up is justified in three cases:
- You walk for more than an hour to reach the shooting spot
- Your total backpack weight exceeds 10 kg and you need to cut weight somewhere
- You often shoot on the beach or near the sea: carbon does not corrode
On the other hand, if you load everything into your car and walk 200 meters, aluminum does exactly the same job. Spending an extra 400 euros to save 800 grams that you never carry is an emotional choice, not a technical one.
The ball head: the detail many get wrong
The head is where budget tripods fall apart. A 30-euro Chinese head has fixed friction: either you tighten everything and lock it, or you loosen it and it drops. There is nothing in between. A serious head has adjustable friction separate from the main lock: keep the camera "soft" while composing, and lock it only at the last moment.
The other critical point is drift: after locking, the ball gives way by half a degree under the weight of the camera body plus lens. On a 70-200mm at 200 mm, this results in a tilted frame. Professional heads use ground bearings and rubber dampers to prevent this.
How much to spend: the realistic range
| Price Range | What to Expect |
|---|---|
| Under €100 | Almost always a waste of money. It vibrates, flexes, and the head sags. |
| €150-250 | Honest aluminum, decent head. Covers 90% of needs. |
| €250-400 | Entry-level carbon or top-tier aluminum. The sweet spot. |
| Over €400 | Professional territory. Lasts fifteen years. |
A serious €200 tripod will resell for €120 after ten years. A €60 one ends up in the basement after two uses. Do the long-term math.
Filters: What's still needed in the digital era
Post-processing goes a long way, but not everything. Three types of filters have stayed in my bag for ten years of digital landscape photography, and it’s not nostalgia. These are the cases where software either falls short or delivers worse results with more work.
The circular polarizer: the only one software cannot replicate
A polarizer cuts polarized reflected light. It means removing the whitish haze from wet leaves, seeing the bed of a stream instead of the sky's reflection, and saturating a blue sky without raising the saturation slider. No Lightroom preset does this job: once reflected light enters the sensor, it is already mixed with diffuse light and cannot be separated.
The effect is adjusted by rotating the front dial. Maximum effect is achieved at 90 degrees relative to the sun, meaning when the sun is to the side. Two practical notes:
- Below 16mm you risk a patchy sky, as the polarization angle varies too much across the frame.
- It costs 1.5-2 stops of light: it becomes inconvenient with an overcast sky and handheld shooting, but is irrelevant on a tripod.
Spending 30 euros on a polarizer for an 800-euro lens is a mistake: poor-quality glass introduces purple casts and loss of sharpness at the edges. You buy it once, starting from 80 euros, and use it on all lenses with step-up adapter rings.
Fixed ND: long exposures of water and clouds
A neutral density filter reduces light evenly to extend shutter speeds. Three strengths cover 95% of use cases:
| Filter | Stops removed | Typical use |
|---|---|---|
| ND8 | 3 | Waterfalls in full light, silky effect at 1/4s |
| ND64 | 6 | Choppy sea, moving clouds, 5-15 seconds |
| ND1000 | 10 | 30s-2min exposures, water flat as oil, disappearing crowds |
Bracketing does not replace ND filters: a sequence of fast shutter counts does not render moving water, it freezes it. Achieving that effect requires seconds of actual exposure.
Graduated ND: still useful or overtaken by bracketing?
A GND filter features a half-dark, half-transparent glass with a graduated transition. It is used to balance a bright sky with a shadowed foreground. Bracketing combined with HDR merge achieves the same result in software, and with modern sensors (exceeding 13 stops of dynamic range), it is often possible to recover everything from a single RAW file.
However, the GND wins in three cases: when there are moving elements on the horizon (waves, fast-moving clouds, wind-blown branches) that HDR merges turn into ghosts; when working with highly contrasted light at dawn and you want a clean file requiring minimal editing; when the camera has a limited dynamic range, under 11 stops. On a modern full-frame body with a static scene, to be honest: it often stays in the pocket.
Recommended used mirrorless cameras for landscape
Landscape is one of the few genres where an eight-year-old camera with the right sensor beats a new entry-level mirrorless. You don't need burst mode, you don't need eye-detection AF, and you don't need 4K 60p. What you need is a sensor that holds 12-14 stops of dynamic range at base ISO and a body that sits well on a tripod. Here is what to choose today from our catalog, divided by price range.
Under 500 euros: APS-C or Micro 4/3
In this price range, you can step into the landscape genre without compromising final image quality, provided you accept a camera body that is not the latest model. The three options we regularly keep in stock:
- Fujifilm X-T1 at 380 euros — X-Trans APS-C sensor, genuine weather sealing, physical dials for shutter speed and ISO. RAW files that handle shadow recovery very well. The limitation is the modest buffer, but for landscape it doesn't matter.
- Nikon Z30 at 450 euros — modern APS-C sensor with excellent performance at low ISO. Lacks an electronic viewfinder, a non-trivial detail at dawn or with front-facing sun: you compose only on the screen.
- Panasonic Lumix G90 at 450 euros — Micro 4/3, weather-sealed, 5-axis in-body sensor stabilization. Smaller sensor means less dynamic range, but at ISO 200 with a tripod it takes shots that hold up to A3 printing.
€500-650 range: the quality leap
Here you will find camera bodies with serious ergonomics and more flexible files in post. The Sony A6100 at 600 euros is the most recent: 24 megapixel APS-C, modern autofocus, good performance up to ISO 1600. It lacks weather sealing, which should be considered if you shoot in uncertain weather.
The Olympus OM-D E-M1 mark II at 600 euros is the technical choice for those who walk a lot: genuine weather sealing tested in extreme conditions, one of the best stabilizers on the market, and a High Res mode that combines multiple shutter counts into a 50-megapixel file. On Micro 4/3, you pay a bit for dynamic range but gain in the portability of the complete kit.
Used full frame under 700 euros: the smartest choice
If you mainly shoot landscapes, this is the real deal. The Sony A7 Mark II starts at 550 euros: 24 megapixels full frame, in-body stabilization, dynamic range around 13.6 stops at base ISO. Files that recover shadows aggressively without generating color noise.
The Canon EOS RP at 600 euros is the lightest full-frame on the market (485 grams) and is the smoothest entry into the RF system for those coming from Canon. If you are undecided about your first purchase, also read our guide to the first used mirrorless before deciding.
Accessories that really matter (and those that don't)
After the camera body, lenses, and tripod, the list of useful accessories for landscape photography is very short. Four items cover 95% of your outings: remote shutter, extra batteries, fast memory cards, and a microfiber cloth. Everything else — electronic levels, programmable intervalometers, Bluetooth remotes with dedicated apps — is gadgetry that ends up in a drawer after two months.
The practical rule: if an accessory doesn't solve a problem you've encountered at least three times in the field, don't buy it.
Remote shutter release: 15 euros that change your shots
The 2-second self-timer is designed to prevent vibration caused by pressing the shutter button. It works, but it forces you to wait for every single shutter count. In a 5-shot bracketing sequence with long exposures, you lose precious light at dawn.
A mechanical cable release costs €15–25 and does two things the self-timer cannot: it enables bulb mode (exposures over 30 seconds without an app) and lets you capture the exact moment the light is right. For recent mirrorless cameras, the manufacturer's Bluetooth remote is also suitable, but a physical cable does not drain batteries and does not lose connection in the cold.
Avoid generic infrared remotes under 10 euros: in bright light, the receiver cannot detect them from more than a meter away.
Spare batteries: the most common mistake at dawn
A full-frame mirrorless camera at -2°C, with live view always active and a top-tilting screen for low-angle framing, drains a battery in 90-120 minutes. If you set out for a mountain sunrise with just one charged battery, you’ll come home with only half the shutter count you had planned.
Practical information:
- Always at least two batteries, three if the camera has a declared battery life of under 350 CIPA shutter count.
- Compatible: they are fine if from well-known brands like Patona, Newell, or Hähnel. They cost a third of the original and retain 80% of the capacity. We have seen no-brand ones under 10 euros swell inside the grip.
- In the cold, keep the spare battery in an inner pocket, in contact with your body. It recovers 20% of the battery life.
SD Cards: Write Speed for Bracketing and Burst Mode
For landscape photography, you don't need to take rapid-fire shutter counts, but bracketing 5-7 exposures in RAW will saturate the buffer of any camera body if the memory card doesn't write fast enough.
| Class | Minimum write speed | When needed |
|---|---|---|
| V30 | 30 MB/s | Single RAW shot, 1080p video |
| V60 | 60 MB/s | 5-7 RAW bracketing, 4K video |
| V90 | 90 MB/s | Prolonged RAW burst, high-bitrate 4K video |
For landscape photography, a 64 GB SanDisk V60 or ProGrade card (€40–60) is the right choice. The V90 costs twice as much and only makes sense if you also do reportage or professional video.
The backpack and gear organization
The wrong backpack costs you more than a mediocre lens. If it wrecks your shoulders by the third kilometer, the best gear in the world stays in the car next time. For landscape photography, the backpack is an operational tool, not an accessory: it must hold a camera body, two or three lenses, an external tripod, filters, batteries, water, a rain jacket, and sometimes a sandwich. All of this must be distributed across a waist belt that transfers the weight to your hips, not the shoulder straps.
Photography or outdoor backpack with insert
The choice depends on the distance you walk, not the amount of gear. Under 5 km of walking with modest elevation changes, a dedicated photo backpack works well: quick side access, customizable dividers, dedicated tripod mounts. Over 10 km, with significant elevation gain and perhaps a bivouac, the rigid back panel of a mid-sized photo backpack will destroy you.
In that case, a 40-50 liter trekking backpack with a photography insert (cube) inserted from the top or the lower section is better. Advantages and disadvantages compared:
- Pure photography backpack: quick access, maximum protection, but a non-breathable back panel and a waist belt that is often merely symbolic.
- Outdoor backpack with insert: superior load-bearing capacity, space for food and clothing, but removing the camera requires taking the backpack off and opening it.
For serious mountain trips, the second option almost always wins. The pure photographic setup remains unbeatable for quick get-in-and-go outings: park, ten minutes on foot, shutter count, back to the car.
The heavyweight that makes sense to carry
The operational rule that works: a fully loaded backpack should not exceed 15-20% of your body weight for outings lasting more than three hours. For a 75 kg photographer, this means keeping the total weight between 12-15 kg, tripod and water included. Above this threshold, fatigue leads to fewer and worse shots: you skip careful composition, don't wait for good light, and give up on focus stacking because setting up the tripod for the fifth time is exhausting.
It is worth doing the real math at home, with a scale. A full-frame body with grip weighs 900 grams, a bright 16-35mm lens another 800, a 70-200mm f/4 around 800, a serious tripod 1.6 kg, a head 400 grams, filters and filter holder 500 grams. We are already at 5 kg of photographic gear alone. Add an empty backpack (1.5-2 kg), water (1.5 liters), jacket and snacks: you easily reach 9-10 kg.
Here is the practical consequence: carry one less lens and make more use of the ones you already have. Three lenses are too many for trekking. Two well-chosen lenses cover 95% of your shots and leave you with the energy to reach the summit.
Build quality and protection: landscape means rain, wind, and salt spray
Landscape photographers work when everyone else is heading home: an approaching storm, crosswinds on the headland, fog condensing on the lens. The gear takes a beating it would never see in a studio, and the difference between a camera that lasts ten years and one that dies in two seasons comes down entirely to how you manage those moments.
Tropicalization: marketing vs reality
"Weather sealed" does not mean waterproof. It means the camera body has rubber seals on dials, door covers, and the mount that reduce the ingress of water and dust. Reduce, not eliminate. No manufacturer guarantees a certified IP rating on consumer DSLRs and mirrorless cameras, and this should give you pause.
What to really expect from a tropicalized camera body:
- Withstands: light and prolonged rain, snow, splashes, fine dust, marine humidity.
- Does not withstand: partial or full immersion, direct jets, sudden condensation when entering a heated car, salt spray not removed within a few hours.
- Critical constraint: tropicalization only works if the mounted lens is also sealed. Sealed body + budget lens = water entering through the mount.
Three used models that live up to their promises, all with certified shutter counts:
- Fujifilm X-T1 at €380: magnesium alloy body with over 80 sealing points. One of the first APS-C cameras to bring serious weather sealing at an accessible price. Limitation: 16 MP X-Trans sensor, not a dynamic range champion.
- Olympus OM-D E-M1 mark II at €600: the benchmark for durability. Olympus claims resistance down to -10°C and has the most reliable system in heavy rain. For the landscape photographer hiking in the mountains, it is almost irreplaceable at this price.
- Panasonic Lumix G90 at €450: good sealing, 5-axis stabilizer, contained weight. An honest compromise if the Olympus is out of budget.
Care for your gear after a shoot
The rule that saves the most camera bodies: as soon as you're back, a dry cloth on the body, ring by ring, before storing. For mountain trips or high-altitude night shoots, the same thermal logic applies, as explained in the article on gear and techniques for night photography: never move abruptly from cold to warm without letting the camera acclimate in a closed backpack for twenty minutes.
After going out to sea, the number one risk is saltwater: it crystallizes in the seals, hardens them, and breaks them within six months. Wipe the entire camera body with a cloth slightly dampened with fresh water, dry it immediately, and check the mount.
At the ReflexMania workshop, every used camera body that comes in undergoes a seal inspection, sensor cleaning with a wet swab, shutter test, and verification of the actual shutter count. If a seal shows cracks or hardening, we replace it before putting the body on display. That is why we offer a 2-year warranty even on bodies from ten years ago.
Frequently asked questions
Do I absolutely need a full-frame camera to start with landscape photography?
No. A modern APS-C or Micro 4/3 with a good sensor works perfectly well for prints up to 50x70. Full frame makes sense when you start printing large, recovering significant shadows, or frequently shooting at high ISO in low light.
How much should I spend on a serious tripod?
Under 100 euros, it is almost always a waste of money: vibrations, failing locks, and imprecise heads. A good entry-level model costs 150-250 euros in aluminum, and 300-450 euros in carbon fiber for a travel model. Above 500 euros, you enter the professional range.
Screw-on filters or filter system?
To start, a good screw-in polarizer and a screw-in ND filter are sufficient. The filter holder system (Lee, NiSi, Cokin) makes sense when you frequently use graduated GND filters or want a single set of filters for multiple lenses with different diameters.
Is a fast fixed wide-angle lens or a zoom lens the better choice?
For landscape photography, I almost always use a zoom lens. I shoot at f/8-f/11 from a tripod, so the brightness of a 1.8 or 2.8 is not needed. The zoom offers compositional flexibility; a prime lens only makes sense if you also do serious astrophotography.
Is a used mirrorless camera reliable for landscape photography?
Yes, if purchased from a seller who verifies it. For our used equipment, we check the shutter count, sensor, shutter, weather sealing (where applicable), and all buttons and dials. We provide a 2-year warranty because the item passes through our lab before sale.
Megapixels: Are 24 too few for cropping in post?
They are sufficient for most uses, including a 50% crop. More megapixels (40+) are only needed if you frequently print larger than 70x100 or if you do extensive cropping on distant subjects, such as wildlife or very distant landscape details.
How much does a typical landscape kit weigh?
A reasonable kit weighs between 4 and 6 kg, including the camera body, two lenses, a tripod, filters, and accessories. Above 7 kg, long trekking outings become tough: it is better to reconsider the kit or accept carrying less.
Looking for advice on the right landscape kit for you?
If you have doubts about a purchase or need advice for your specific case, contact us. We offer free advice because we are photographers first, and because a customer who buys the wrong gear stops shooting.
Three ways to get in touch:
- Contact form — response within 24 business hours
- WhatsApp at 342 362 3454 (messages only)
- Phone: 071 291 6347 (Mon-Fri 9-13/15-18, Sat 9-13)
And if you want to see what we have in stock right away, explore the used gear available today: every camera is certified, comes with a 2-year warranty, and ships within 24-48 hours.
Article written by Matteo for the ReflexMania Team. Last updated: May 2026. Prices and availability refer to the time of publication.